Put your city on the map in 4 layers. Create an artistic old map of your area. Here’s what you should be achieving:

Step 1: Getting the actual map
Go to Google Maps, find your area and zoom in to a desired level—I went in somewhere between City and Street view in some area in Bucharest, Romania but you can also do a Country view.
Update: Simon suggests in a comment below that to avoid any legal implications in using a screen capture from Google or Yahoo Maps in your artwork, you should rather go with an open map provider such as openstreetmap.org.
Hit the PrintScreen key, go in Photoshop and paste it in a new document and then Crop (C key) the image keeping only the desired part. Use the Patch Tool or the Healing Brush Tool to remove the center cross.

Step 2: Applying the old paper texture to give it a vintage look
For the second step you need an old grunge paper texture. I used this free image from cgtextures. Paste it on a new layer above the map and set the blending mode to Multiply. If your image turns out too dark, select the paper layer and go to Image > Adjustment > Brightness/Contrast and set set the brightness to a higher value (I didn’t need to). You may also need to adjust its size and position.

Step 3: Adding a photograph
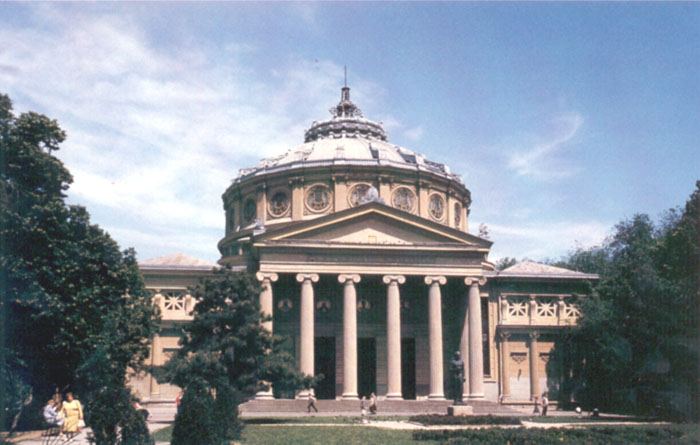
Now you need to find a suited image of your city/region. Well, it doesn’t necessarily have to be related to your region as long as it looks good. I used this image of the The Athenaeum in Bucharest. But I also found fantasy/surreal art images to look great here (examples at the end). Paste the image under the paper layer and adjust its blending mode, opacity and brightness/contrast. I used Multiply with a 50% Opacity but you may want to try other values for your image of choice (like Soft Light for the blending mode or increasing the Brightness).

Step 4: Clear the roads!
Next thing I did here was to create a Layer Mask to the Bucharest Athenaeum layer and while having the mask selected and the foreground to black, I used a 100px brush with 0% hardness to brush away the sky. Then, with the same brush, but after setting its Opacity to 50% I brushed some more on the mask in regions I considered too “crowded” like where there were roads and texts from the map layer and trees and building parts from the Athenaeum image. I then reduced the brush size and brushed some more along the roads. The brush size should be smaller than the road width. Try to only brush inside the roads.

Step 5: A nice final touch, the borders
Your layers should now be in this order: Paper layer (up most), Photograph layer, and Map layer. While having the Photograph layer selected, create a new layer (Ctrl+Shift+N), name it Borders and fill it with white (press D and X to make the foreground color white and Alt + Backspace to fill it with color). Hit Ctrl+A to select all, go to Select > Modify > Contract and contract the selection by 19px. Change the Foreground Color to #999999 and hit Alt+Backspace to fill the selection. Go to Select > Modify > Contract again and enter 1px. Hit the Delete key to clear the selection.
And you’re done. Gongrats! Oh, right… I promised the fantasy examples:

I used 2 layers with 2 photographs for the one above, both with Multiply blending mode and both with layer masks.

Another cool vintage example:

And another one, of a south Romanian view (click to view full size):

Go beyond: add a page curl using Veerle’s tutorial and place it on a desk environment! Let me know how it all went. Good luck!